Главная
»
Radius Modem
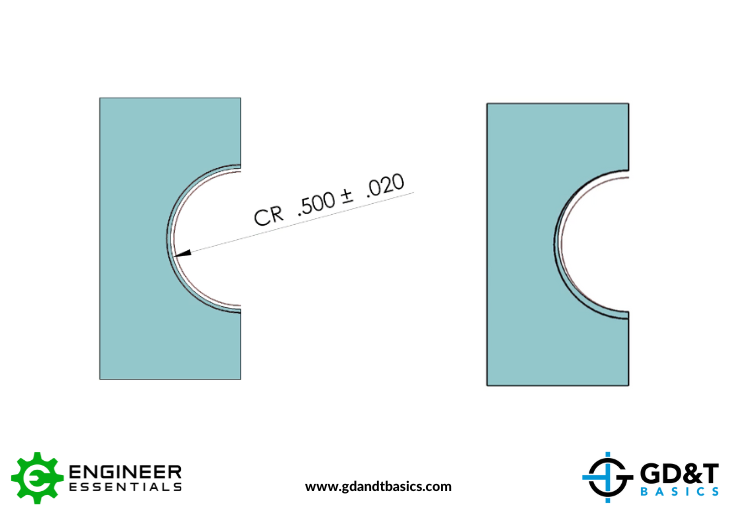
Figure 2: Machined “Controlled Radius” within Tolerance Zone